As a solution to this problem, this blog will detail how access control can be enabled for an SCA composite web service deployed on SOA Suite 12c. We will be using the WSS UsernameToken Profile policy available in Oracle Web Services Manager (OWSM), and in addition, we will also see how a secured web service can be tested in soapUI.
NOTE: It is of paramount importance that the UsernameToken Profile is used over an encrypted channel such as TLS. The reason for this is that the username and password (or digest) are sent in plaintext and are susceptible to man-in-the-middle attacks.
Attaching the UsernameToken Profile Policy
Attaching OWSM policies is a simple activity, performed in the Enterprise Manager Fusion Middleware Control application. The following steps detail how a policy is attached to (an obligatory) Hello World web service.
1. Log into the Enterprise Manager at http://{host}:{port}/em and navigate to the SCA composite home page

2. In the 'Service and References' section, click on the exposed web service link to go to the service dashboard

3. In the web service dashboard, click the 'Policies' tab

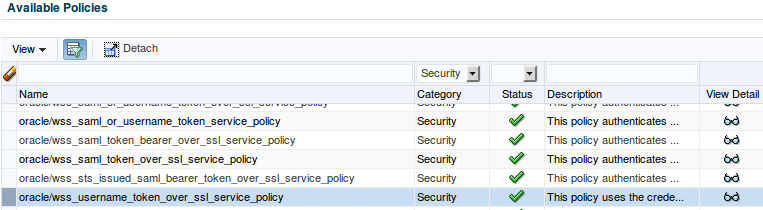
4. In the 'Directly Attached Policies' section, click the 'Attach/Detach' button

5. In the 'Available Policies' section, select the oracle/wss_username_token_over_ssl_service_policy, click 'Attach' and 'OK'
Testing a Secured Web Service in soapUI
To confirm that the policy configuration above has been applied successfully, we can use a testing tool such as soapUI. SoapUI is a testing suite capable of running tests against SOAP or REST endpoints, it has been around a good number of years now and has become a crucial tool in the utility belt of both web service developers and system testers alike.
Verifying the Policy Attachment
To verify the policy attachment, we only need to load the SOAP project in soapUI and send a test message. If the policy has been applied correctly, then a HTTP 500 Internal Server Error and invalid security message should be received as we have not provided any credentials yet:

Adding the UsernameToken
To call the web service successfully, we need to add a UsernameToken to the SOAP header. This can be done as follows:
1. In the 'Request Properties' box of soapUI, enter the username and password for the service

2. Right click in the request window and select 'Add WSS Username Token'

3. Right click in the request window again, and select 'Add WS-Timestamp'
Re-send the message. This time the response should contain a HTTP 200 and the SOAP response:

This completes the UsernameToken Profile configuration and testing. Hopefully you can see just how simple OWSM makes security configuration.
No comments:
Post a Comment